Before we go into the war, first we have to sharpen our weapons, Similarly before we dive into actual coding first we have to set up the development environment.
Without the proper tools, we won't be able to write, build, or integrate drivers into the Windows operating system. In this guide, we will walk through the installation of the three most important tools:
- Visual Studio (the primary IDE for driver development)
- Windows Driver Kit (WDK) (provides driver templates, libraries, and headers)
- Windows SDK (required for building and compatibility with Windows 11 APIs)
By the end of this article, we will have a fully functional environment ready to start driver development.
1️⃣ Visual Studio Installation
Why Visual Studio?
Windows drivers are developed primarily using C/C++, and Microsoft provides tight integration of WDK into Visual Studio. This allows us to:
- Use driver templates (KMDF, UMDF, WDM)
- Automatically sign and package drivers.
- Build and deploy directly to a test machine.
- Debug drivers with built-in extensions.
Steps to Install Visual Studio
1 Download the latest Visual Studio 2022 (Community edition is free) from the Visual Studio website.
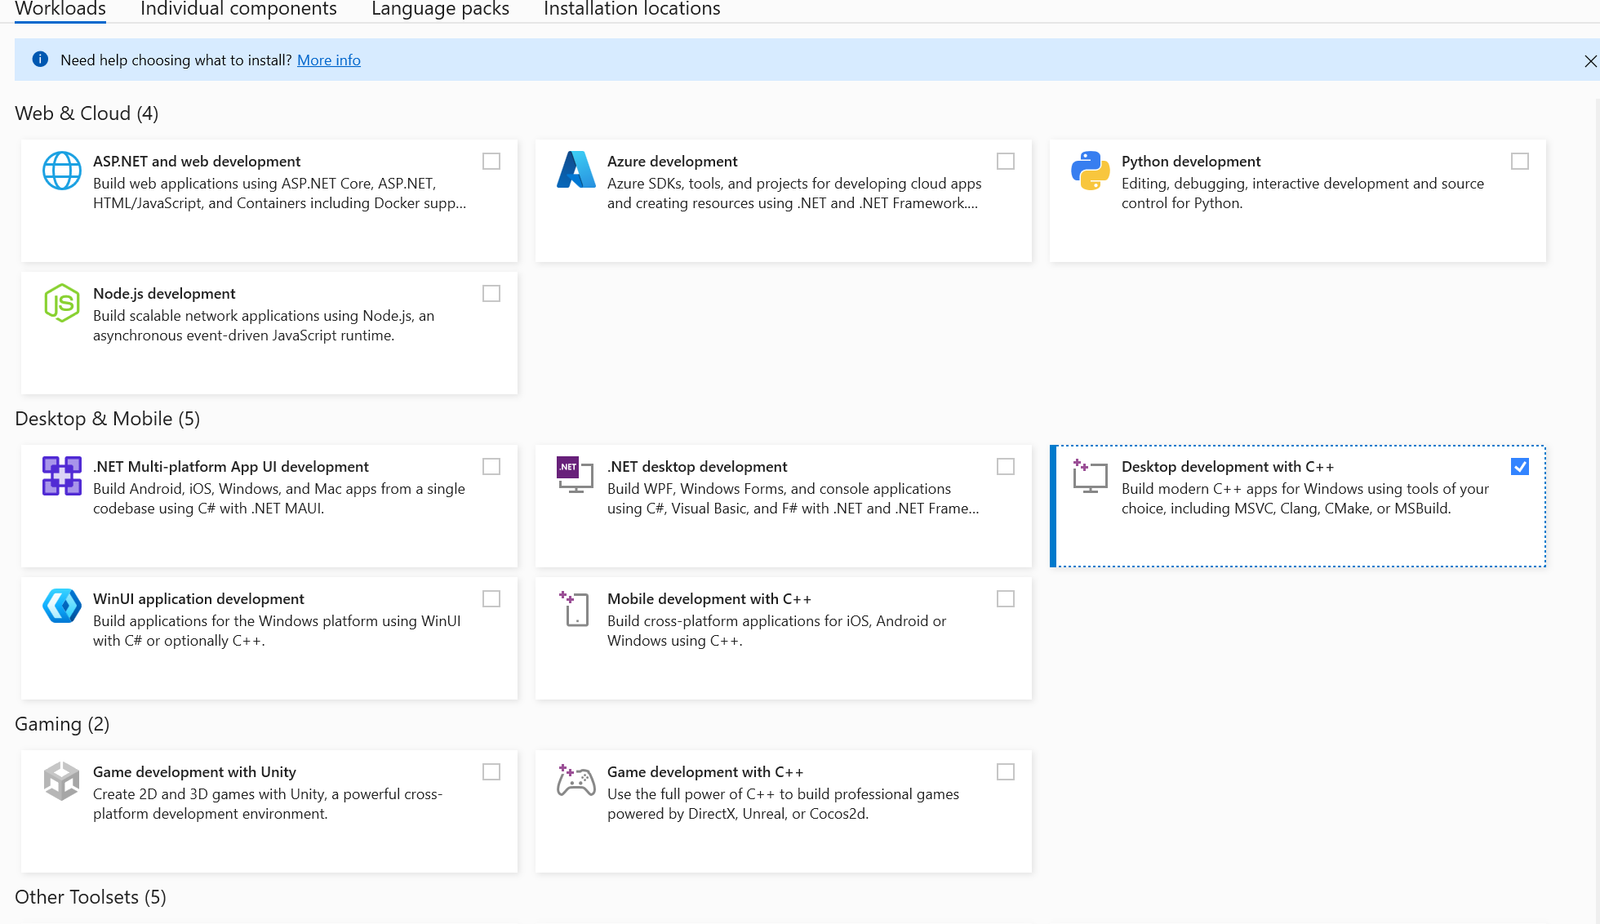
2 Run the installer and choose Workloads:
- Desktop development with C++ (required for building drivers)
- Universal Windows Platform (UMP) development (needed for WDK support and some driver types)
- Windows Driver Kit (WDK) Support (if listed)
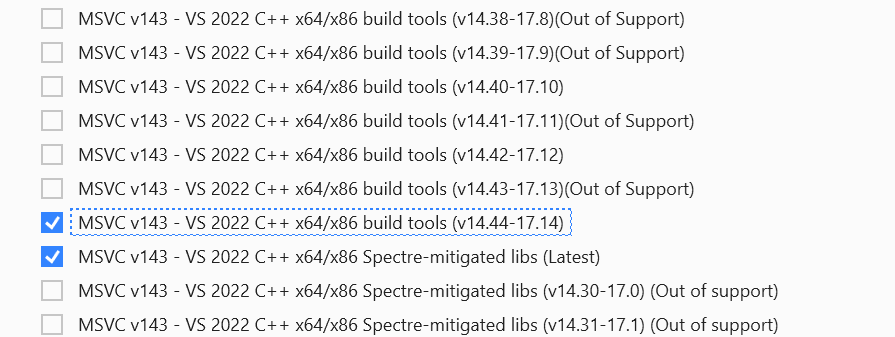
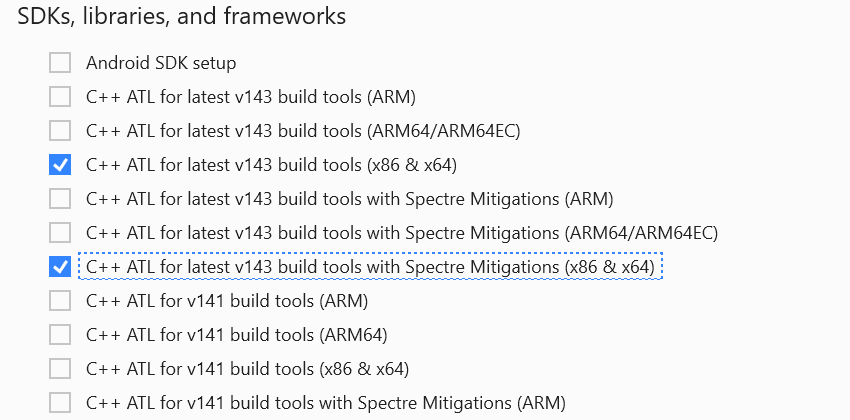
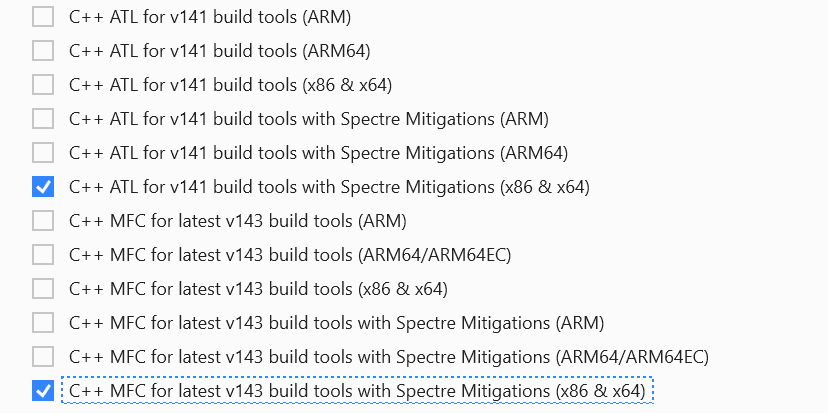
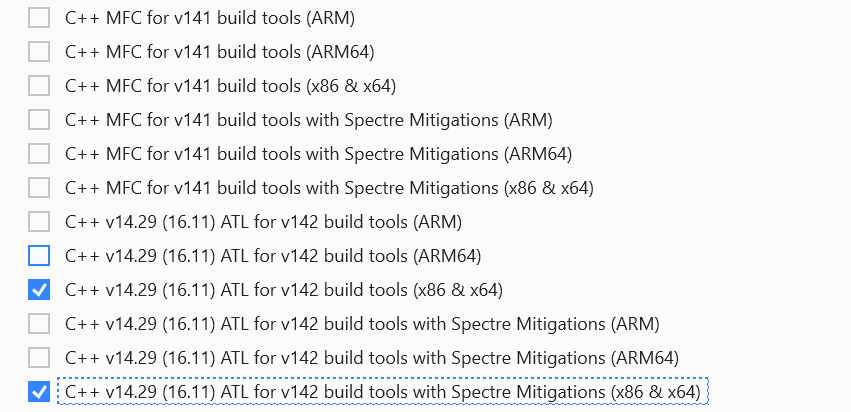
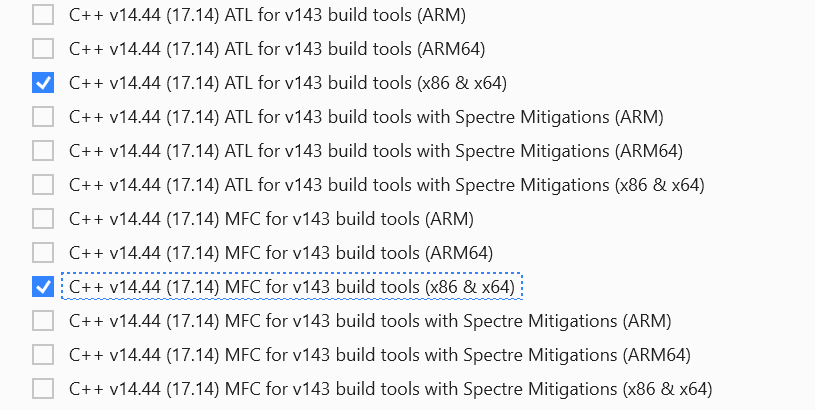
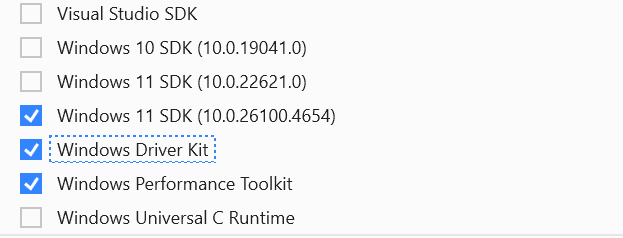
Select the below individual components:
2️⃣ Install the Standalone WDK

Leave a comment
Your email address will not be published. Required fields are marked *