Overview
As we all know that Angular is component-based architecture, these components often need to communicate with each other by sharing data. Input properties are a fundamental feature in Angular for passing data from parent components to child components. In this chapter, we will explore input properties in Angular, providing a comprehensive understanding along with practical examples.

Understanding Input Properties
Input properties are a way to pass data from a parent component to a child component. By binding data to input properties, you can make it available for use within the child component's template and logic. Input properties enable parent-child communication and help create modular and reusable components.
Defining Input Properties
To define an input property in a child component, you need to use the @Input decorator. his decorator tells Angular that the property is meant to receive data from a parent component. To use the @Input() decorator first import Input from @angular/core . Here's how you can define an input property:
import { Component, Input } from '@angular/core'; // Import Input

@Component({
  selector: 'app-child',
  template: '<p>{{ childData }}</p>',
})
export class ChildComponent {
  @Input() childData: string; // decorate the property with @Input()
}
In the above example, @Input() is used to declare an input property called childData. In this example property has a type string, however @Input() properties can have any type, such as number, string, boolean, or object.
Binding Input Properties
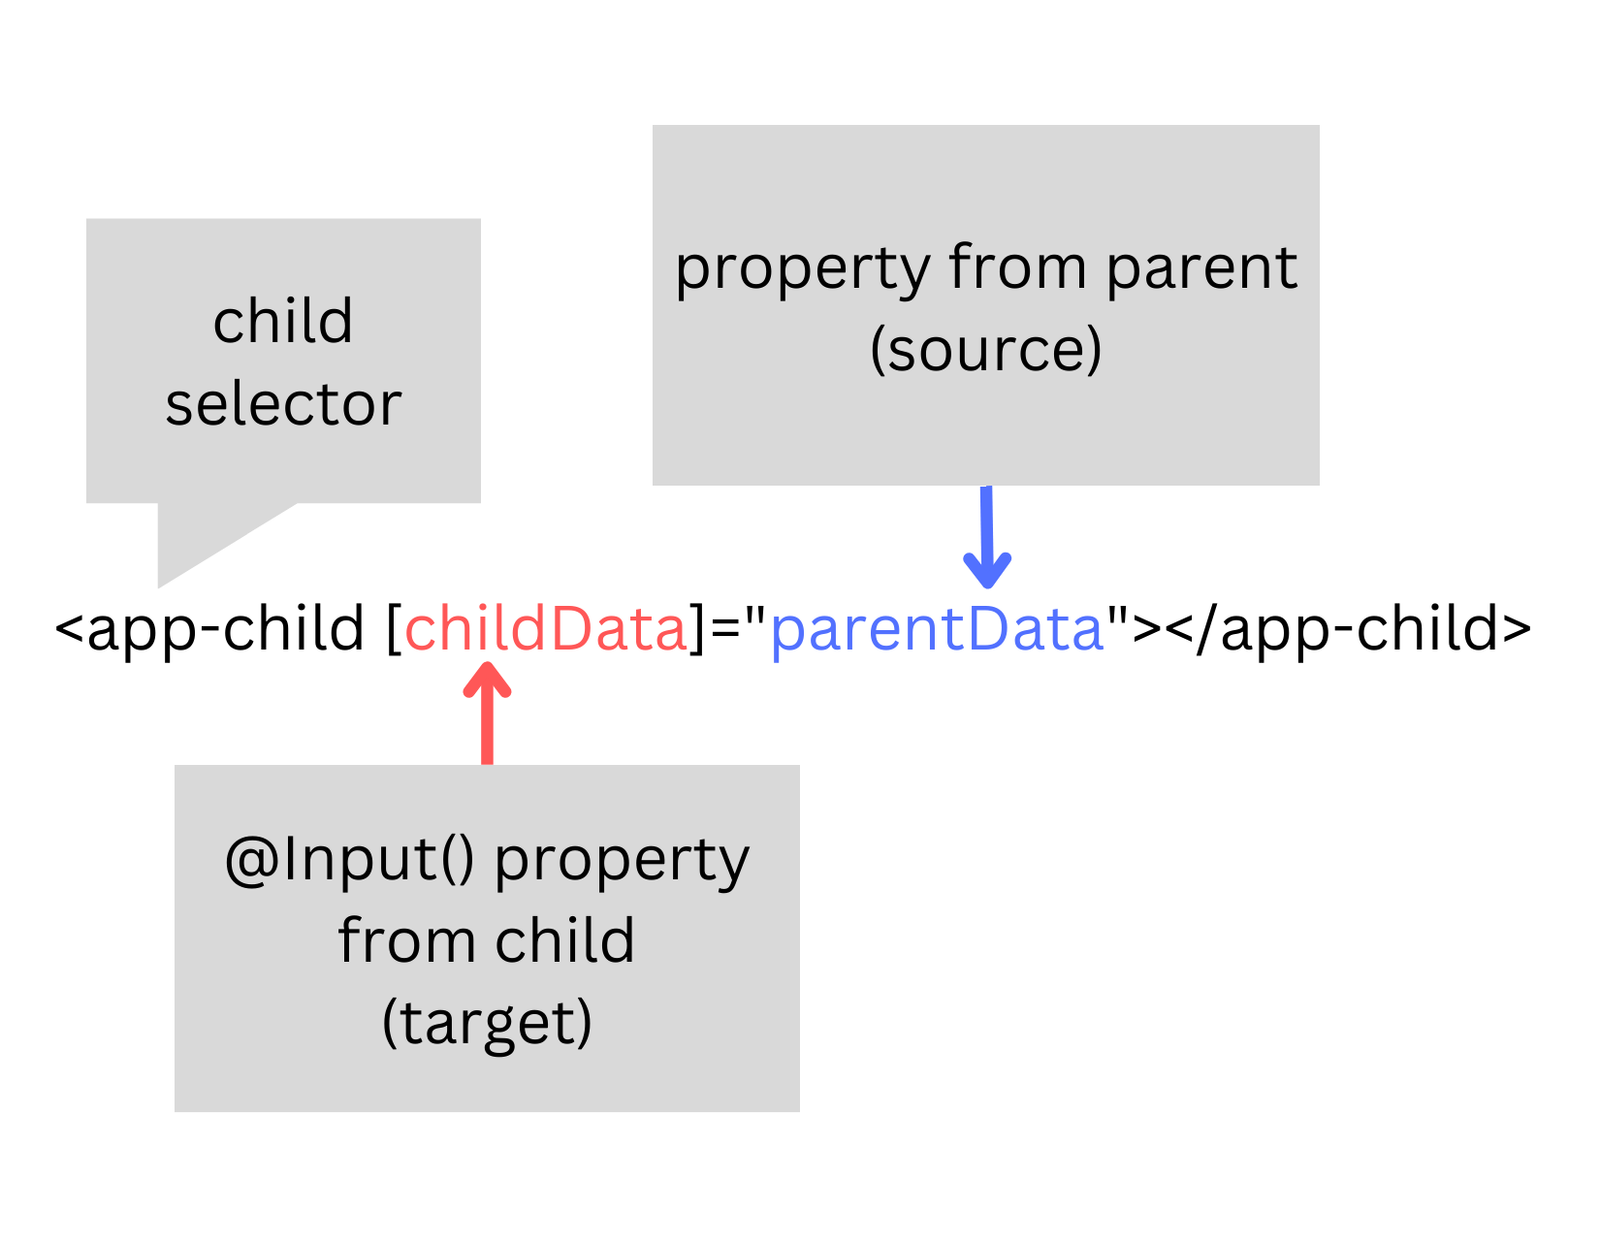
To pass data from a parent component to a child component, you need to bind the input property in the parent component's template. Here's how you can do it:
<app-child [childData]="parentData"></app-child>
In the above code, parentData from the parent component is bound to the childData input property in the child component.

Using Input Properties
Once the data is bound to the input property, the child component can access and utilize this data in its template and logic. For instance, in the child component's template, you can display the data:
<p>{{ childData }}</p>
In the child component's TypeScript code, you can manipulate or use the input data as needed.
Passing Objects as Input
Input properties are not limited to simple data types like strings or numbers. You can pass complex objects and even arrays by defining input properties in the child component and binding them from the parent component.
Here's the complete example:
Child Component (child.component.ts):
import { Component, Input } from '@angular/core';

@Component({
  selector: 'app-child',
  template: `
    <div>
      <h2>Child Component</h2>
      <p>Name: {{ person.name }}</p>
      <p>Age: {{ person.age }}</p>
    </div>
  `,
})
export class ChildComponent {
  @Input() person: { name: string; age: number };
}
In this child component, we define an input property person of type { name: string; age: number }.
Parent Component (parent.component.ts):
import { Component } from '@angular/core';

@Component({
  selector: 'app-parent',
  template: `
    <div>
      <h1>Parent Component</h1>
      <app-child [person]="myPerson"></app-child>
    </div>
  `,
})
export class ParentComponent {
  myPerson = { name: 'John', age: 30 };
}
In this parent component, we create and object myPerson with the properties name and age. We then bind this object to the person input property of the app-child component.
Module Setup (app.module.ts):
Don't forget to import and declare these components in your Angular module:
import { NgModule } from '@angular/core';
import { BrowserModule } from '@angular/platform-browser';

import { ParentComponent } from './parent.component';
import { ChildComponent } from './child.component';

@NgModule({
  declarations: [ParentComponent, ChildComponent],
  imports: [BrowserModule],
  bootstrap: [ParentComponent],
})
export class AppModule {}
With this setup, the person object in the parent component is passed as an input property to the child component, which can then display the object's properties in its template.
Leave a comment
Your email address will not be published. Required fields are marked *
